Bar Keepers Friend Cleaner

Say Goodbye to Those Nasty Stains with Bar Keepers Friend Cleaner

bar keepers friend cleaner

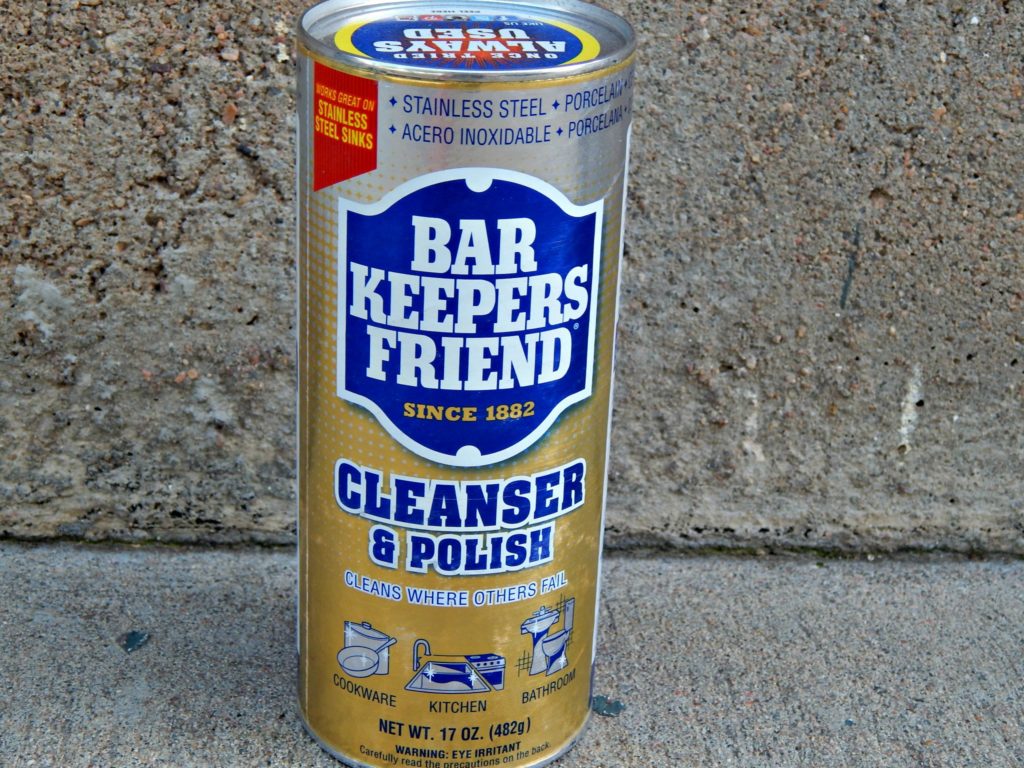
We all know that cleaning can be so much work! Bar Keepers Friend Cleaner can make your life so much easier. Plus, you will have a friend for life! We were getting ready to remodel our 70’s style kitchen a couple of years ago and my husband wanted a porcelain sink.  Almost every home we have lived in previously had a porcelain sink and I hated them all! They would get black and gray marks, rust marks and they just never looked clean. I would bleach them to no end and never could get them to look white. Then one day I was introduced to Bar Keepers Friend Cleaner and I fell in love!

You can use this stuff on so many things and it cuts grease and other unsightly stains like no other. Imagine cleaning your pots and pans and have them so clean they look new again. It works! Clean your bathtub, your porcelain sink, your stainless steel sink and even your glass top stove. I am sure there are many other things you can use it on as well, those are just the way I use it.

best all purpose household cleaner

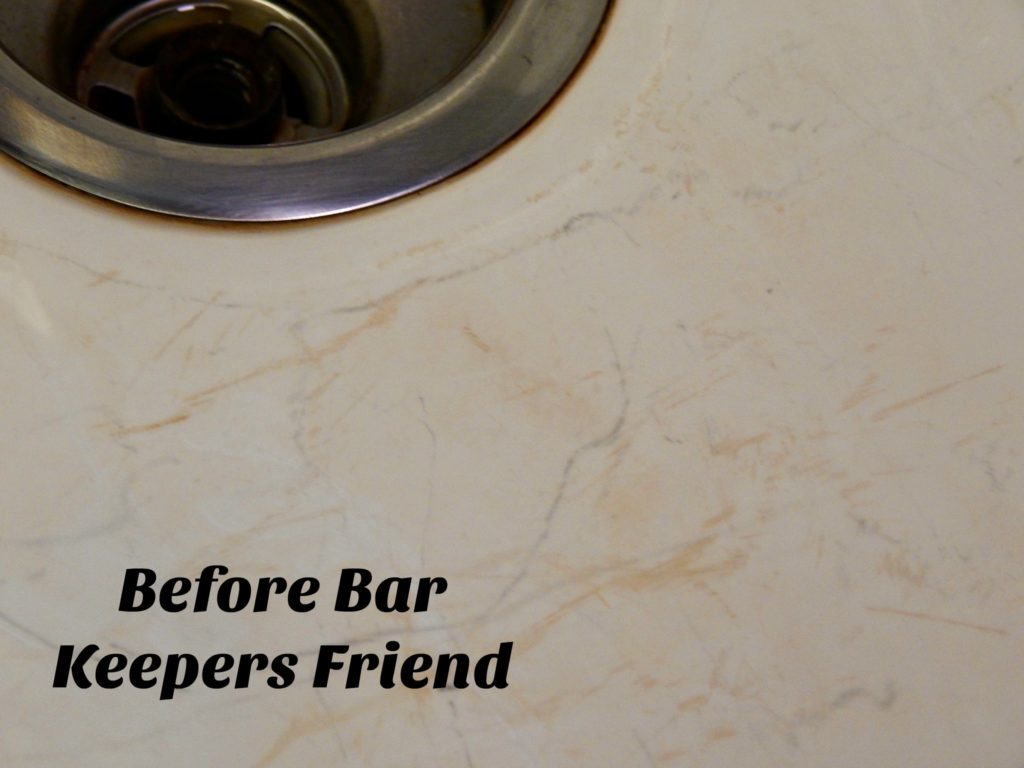
As you can see from the photo above, my sink gets pretty messed up! Lots of rusty stains and those awful black marks. Yuck! These types of stains absolutely drive me crazy. If you ask my husband he will say that’s not hard to do!

To use Bar Keepers Friend Cleaner just wet the area down and sprinkle the powder on what you want to clean. They do make a liquid cleaner as well, but I am not as big of a fan. I prefer the powder cleaner so much more. Anyway, once you sprinkle it on you can start scrubbing lightly with a sponge. I prefer the Scotch Brite Sponges for all of my cleaning.  Then you just rinse it off. It’s that easy!  For stubborn stains you can clean it several times until the stain is gone.

bar keepers friend uses

Bring the Sparkle and Shine back with Bar Keepers Friend Cleaner

You can see the difference in these photos. After using the Bar Keepers Friend Cleaner it is like night and day difference. Another way I use it is on my glass top stove. You know how you get that dark ring around the burners? Well, I just use the cleaner the same way and scrub it off with a sponge. It is like magic! This cleaner is inexpensive, so it won’t break the bank and it takes the headache out of cleaning.

It’s important to note if you clean something like a stove, make sure you get all the cleaner off pretty quickly. It can damage the paint finish and you certainly don’t want that.

Hope you can get some enjoyment out of Bar Keepers Friend Cleaner the way I have!

Sausage Stuffed Shells Recipe

Amazing Sausage Stuffed Jumbo Shells Recipe

Sausage Stuffed Shells Recipe

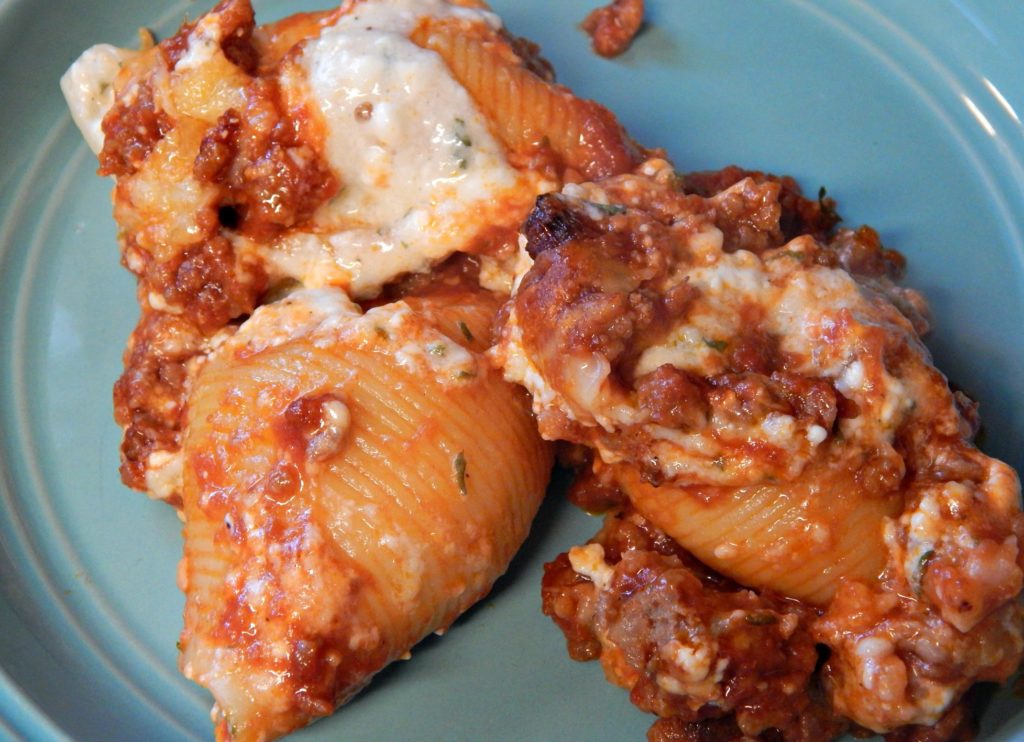
Enjoy Italian food heaven with this Sausage Stuffed Shells Recipe. You can’t go wrong with this delicious recipe. The spices and sauce blend well and leave you begging for more.

Lasagna is a favorite in our household, but sometimes we want something a little different. Once we were invited to some friends house for dinner and the hostess served us Sausage Stuffed Shells. I immediately fell in love at the very first bite. The sausage just takes the pasta dish to a whole new level. My mouth is watering, just thinking about it!

Stuffed Jumbo Pasta Shells Recipe

The Sausage Stuffed Shells Recipe has become a staple in our home. We make sure to keep it in our rotation of regular meals.


Make the Sausage Stuffed Shells Recipe as a Freezer Meal

Finding freezer meals that actually taste good can sometimes be difficult.  I recommend if you plan to use it as a freezer meal, to make sure and thaw it properly or it will take forever to cook.  I made the mistake of taking out of the freezer at lunch and trying to cook it for supper and it was sort of a disaster!  Best case scenario is to place it in the fridge the night before you plan to bake it.

It is a great meal gift! The Sausage Stuffed Shells are also a wonderful meal for someone who just had a baby, a college kid or someone who had a death in the family recently.  They can eat it right way or toss it in the freezer for an easy meal later on. Plus, this meal is a little different that the normal casseroles and regular lasagna’s people normally give. People love this meal, so except lots of compliments and people asking for the recipe.

italian stuffed shells recipe

The thing I love the most about this Sausage Stuffed Shells Recipe (besides the sausage) is the cheese! I love the cottage cheese with the mozzarella and the Parmesan all together. Cheese is literally one of my favorite foods ever. With this recipe, there is plenty of that gooey and delicious cheese to go around.

You can really personalize these by adding or omitting any of the ingredients. You could add other kinds of cheese, mushrooms, black olives or even diced tomatoes. The options are endless!

Sausage Stuffed Shells Recipe

Ingredients

  • 20 - 25 Jumbo Pasta Shells
  • 1 tbsp salted butter
  • 1 1/2 lbs. sausage
  • 2 tablespoons chopped onion
  • 1 - 2 cloves of garlic
  • 1 (12 oz.) can of tomato paste
  • 1 (14 oz.) can of tomato sauce
  • 1/2 teaspoon garlic powder
  • 1/2 tsp. oregano
  • 2 eggs
  • 3 cups cottage cheese
  • 1 (16 oz.) package of mozzarella cheese
  • 1/2 cup Parmesan cheese
  • 2 tbsp dried parsley
  • 1 tsp salt
  • 1/2 tsp cracked pepper

Instructions

  1. Preheat oven to 375 degrees F.
  2. Boil pasta in large pot with water and add salted butter (to prevent sticking). Cook for 5-7 minutes. You want pasta to remain slightly firm and not mushy.
  3. Brown sausage, onions and garlic cloves. Drain meat.
  4. Add tomato sauce, tomato paste, salt, oregano and garlic powder. Simmer for 5 - 7 minutes.
  5. Beat eggs in mixing bowl.
  6. Add cottage cheese, 3/4 of the mozzarella, parmesan cheese, parsley, salt and pepper.
  7. Once shells have finished cooking, add spoonfuls of the cheese mixture to shells.
  8. Place them in 9 x 13 pan.
  9. Pour sausage mixture over the top and bake for 25 - 35 minutes.
Schema/Recipe SEO Data Markup by Yummly Rich Recipes
http://themavensisters.com/sausage-stuffed-shells-recipe/

Give These Other Recipes a Try Too!

Stuffed Shells with Ground Beef

Crockpot No Bake Cookies


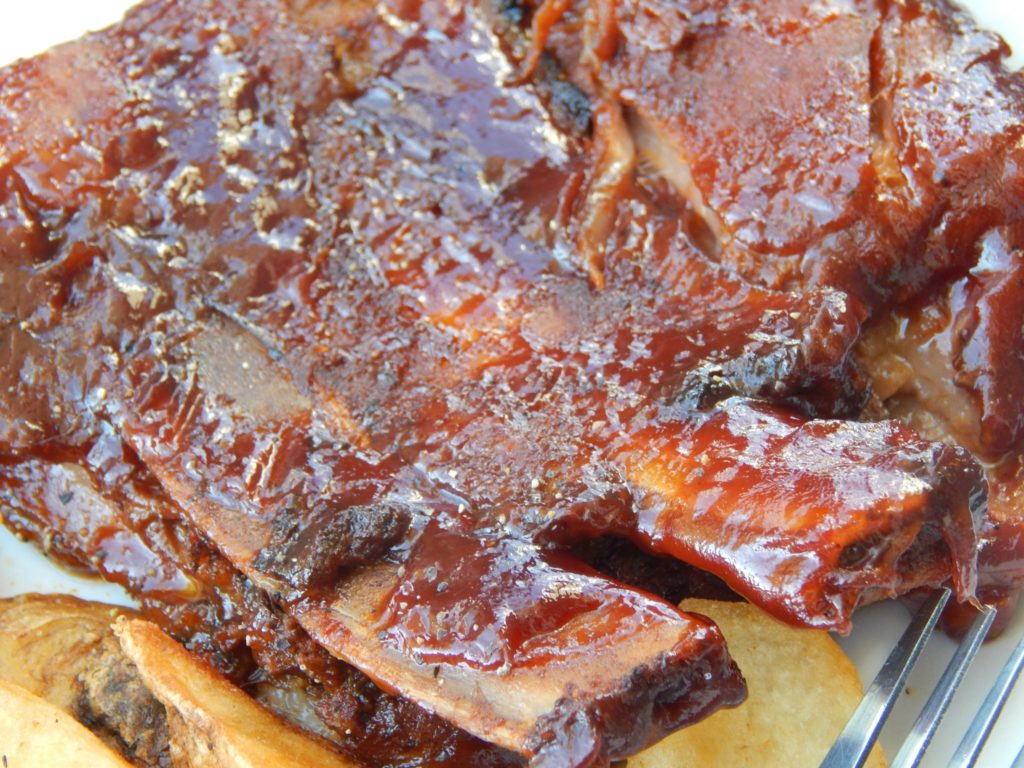
Easy Slow Cooker Ribs

Enjoy These Fall Off The Bone Easy Slow Cooker Ribs

Easy Slow Cooker Ribs

There is nothing more delicious than these Easy Slow Cooker Ribs. They literally fall off the bone, melt in your mouth and provide an explosion of tangy flavors! You can’t go wrong with these Easy Slow Cooker Ribs. They are crowd pleasing, husband pleasing and kid pleasing.

The key to this recipe is that there are no wet ingredients. Simply make a dry rub and put the ribs and place them in the slow cooker standing up. The juice from the ribs will provide the moisture that is needed to make mouth watering ribs. After they are done in the slow cooker, add whatever sauce you prefer then broil them for a few minutes or toss them on the grill for that caramelized sauce flavor.

Don’t Forget to Remove The Membrane

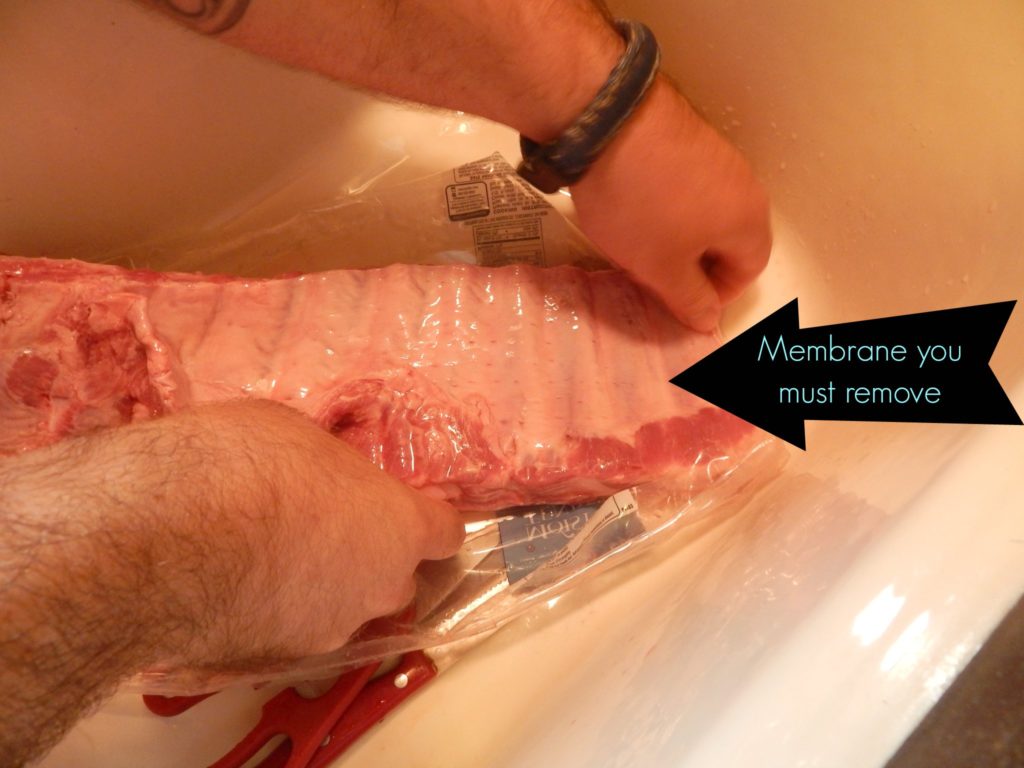
When my husband and I first got married, I tried several times to make ribs with no success. They always were too chewy and I just couldn’t even bite through them. Well, I wasn’t removing the membrane on the back side of the ribs. It’s a gross job, but if you want amazing ribs you just have to do it. I was going to take several photos of my husband removing the membrane on these ribs, but his big arms kind of took over the photos so you can’t see much. In this photo below you can see that pink fleshy layer and that is the membrane. Try to peel it up a little with a knife or push your finger under it to loosen. Then you just peel away. You may get lucky and it will peel in several big pieces or you may have some stubborn stuff that only comes on in small pieces. Either way, don’t give up until it’s gone.

Easy Crock Pot Ribs

Okay, now that we got that little lesson out of the way we can talk more about those mouth watering Easy Slow Cooker Ribs! There may be different seasonings that you prefer. Don’t hesitate to try out different flavors. I always use Sweet Baby Ray’s sauce, but if you prefer something else then give that a try. Play with the recipe, make it your own. Pair it with this Creamy Coleslaw  or this Bacon Bowtie Pasta Salad and you will have a heavenly meal!


easy bbq ribs recipe

The best part about these ribs is that they don’t have to during the summer only. They would make a great addition to your winter meals when you already have out your slow cooker.  Hope your family enjoys these Easy Slow Cooker Ribs as much as mine does.


Easy Slow Cooker Ribs

Ingredients

  • 1/4 cup brown sugar
  • 2 TBSP smoked paprika
  • 1 tsp onion powder
  • 1/2 tsp garlic powder
  • 1/4 tsp cayenne pepper
  • 1 1/2 tsp salt
  • 1 1/2 tsp cracked pepper
  • 2 racks of pork ribs (membrane removed)
  • 1/2 cup of Sweet Baby Ray's BBQ sauce

Instructions

  1. Mix all dry ingredients.
  2. Rub both sides of ribs with dry mixture.
  3. Place in slow cooker and try to stand ribs up and lean against the side of slow cooker.
  4. Cook on low 6-8 hours.
  5. Remove ribs carefully.
  6. Brush with Barbecue sauce.
  7. Place on baking sheet and broil for 4-5 minutes. Or finish cooking on the grill for 10 minutes.
Schema/Recipe SEO Data Markup by Yummly Rich Recipes
http://themavensisters.com/easy-slow-cooker-ribs/

Fresh Cucumber Salsa

Delicious Homemade Cucumber Salsa

fresh cucumber salsa

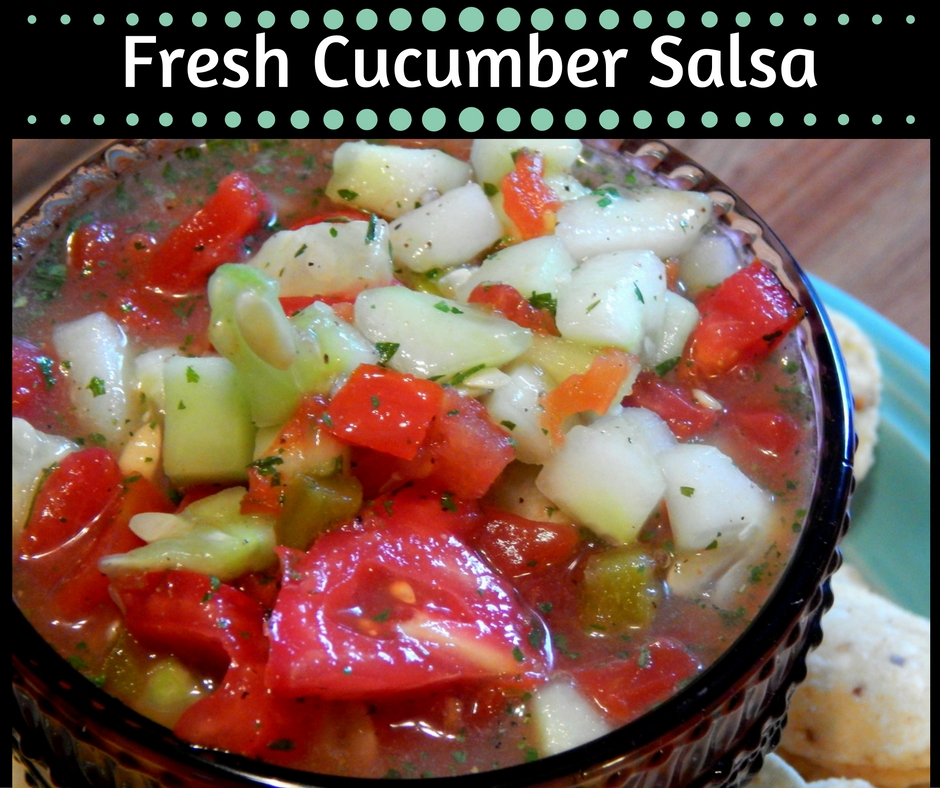
If you are looking for something to make with all those cucumbers and tomatoes from your garden, make this amazing Fresh Cucumber Salsa. Our daycare provider sent home an entire bag of fresh cucumbers and we had no idea what we were going to do with that many! Our garden is really producing a ton of ripe red tomatoes, so I thought it’s the perfect time of year for some Fresh Cucumber Salsa.

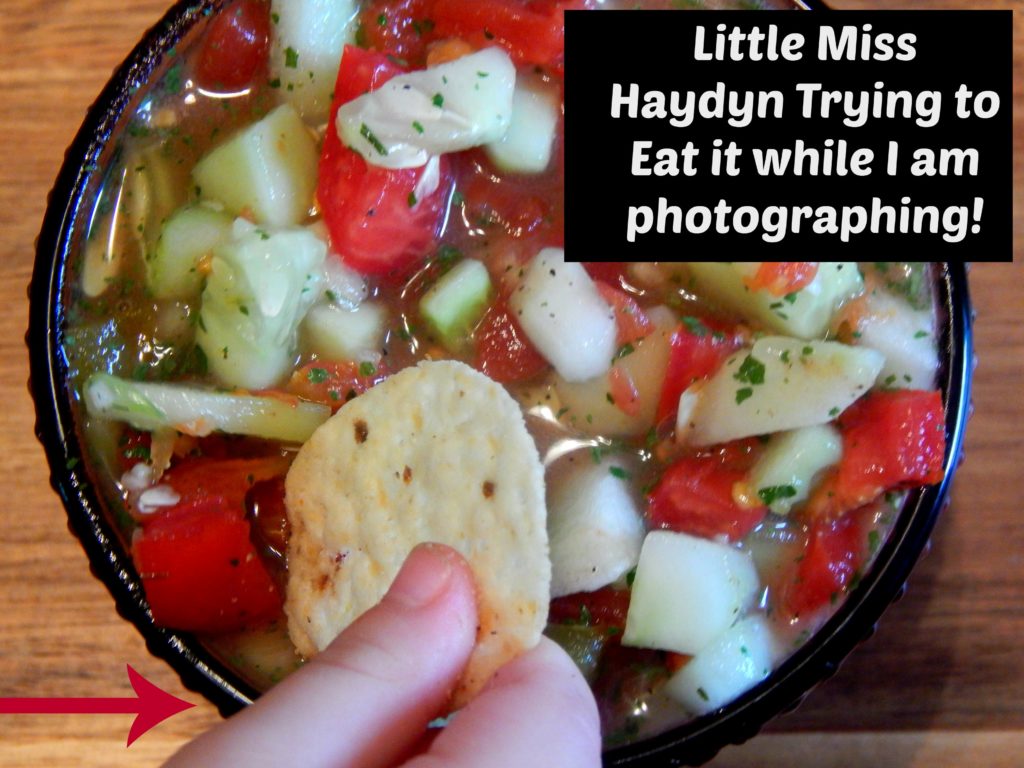
Even kids like this Fresh Cucumber Salsa! At least mine do anyway.  As I was taking photos, Haydyn kept taking chips and reaching into the dip! It was really funny and I just happened to capture her little hand reaching in for some of that delicious Cucumber Salsa.

cucumber salsa recipe

The recipe I use doesn’t call for fresh tomatoes, but we love them so much with it that we used them in place of a 2nd can of Rotel tomatoes. Our household isn’t a fan of cilantro, so I didn’t add it either. You can make little adjustments to perfect the recipe to your tastes. I think some fresh onions would go nicely in this recipe as well.

This Fresh Cucumber Salsa has just enough of a little kick to it, but you could always make it spicier if you prefer. Just use Hot Rotel Tomatoes instead of Original.  My husband and I tend to disagree on how spicy some of our foods should be! He wants it to burn your nose hairs and I am much more conservative. Play with the flavors and see what works best for you.

Fresh Cucumber Salsa

Ingredients

  • 3 cucumbers diced and without skins
  • 1 can Rotel Original (if you don't want to add fresh tomatoes use 2 cans of rotel.)
  • 1 1/2 cups of fresh tomatoes
  • 2 packets of dry ranch dressing
  • 3 tbsp of apple cider vinegar

Instructions

  1. Mix together cucumbers, rotel, tomatoes, dry ranch dressing and apple cider vinegar. Serve immediately or refrigerate for a couple of hours. Serve with tortilla chips.
Schema/Recipe SEO Data Markup by Yummly Rich Recipes
http://themavensisters.com/fresh-cucumber-salsa/

I hope you love Fresh Cucumber Salsa as much as everyone in our house does. It would be a wonderful addition to fall parties, football food or those last barbecue’s of the season.

tomato cucumber salsa recipe

Easy Homemade Peach Cobbler

The Best Peach Cobbler Ever

easy homemade peach cobbler

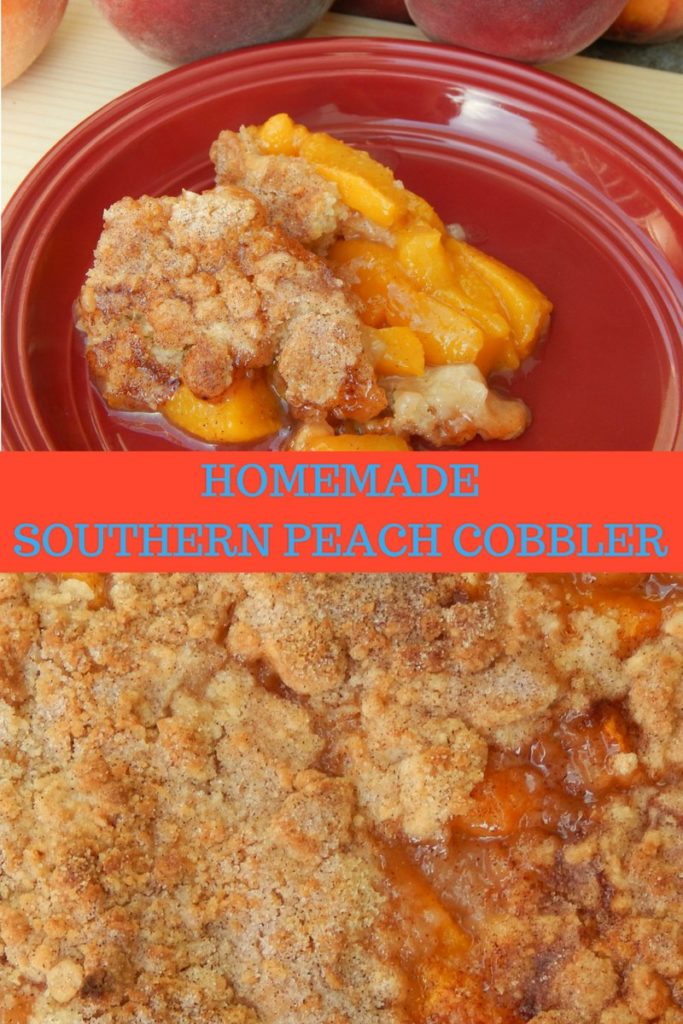
As far as desserts are concerned, there is nothing better than fresh Easy Homemade Peach Cobbler. Top it with some ice cream and you can’t help but moan when you bite into it. This is by far my favorite Homemade Peach Cobbler recipe. It’s been keeping my family happy for years.

With fall on the horizon, fresh peaches and other fruits are making their appearance in our town. Our community did a fundraiser and had a bunch of cases of peaches sent in to sell. When I heard there were going to be fresh peaches, I almost did a back flip! We don’t usually get really good peaches in our grocery store, so when they are brought to town it’s something to get excited about.

This recipe calls for fresh peaches. You could certainly use frozen ones if that is all you have available, but I promise it won’t be as tasty.  Making it with frozen peach is still going to be a lot better than not making it at all! No matter what you use you will love this Easy Homemade Peach Cobbler.

best peach cobbler recipe

How to Blanch Peaches

In case you have never blanched peaches, I thought I better give you some instructions in case you are just starting out. I used to freak out just hearing the word “blanching.”  I figured it was some long and drawn process, but it is really easy. First get out a big pot and boil some water. I like to cut an “X” on the bottom of the peach, just enough to break the skin. Then put your peaches in the boiling water. Let them boil for 1 – 2 minutes. After you are done boiling, drop the peaches in a large bowl filled with ice water. I let them sit for around 45 seconds to a minute then I start pealing the skins off. You will be surprised by how easy the skin just falls off.  You can also use this method to blanch other fruits and vegetables.

Easy Homemade Peach Cobbler

Ingredients

  • 8 fresh peaches - skin removed and sliced into 1-2 inch pieces depending on your preference
  • 1/4 cup white sugar
  • 1/4 cup brown sugar
  • 3/4 teaspoon cinnamon
  • 2 teaspoons cornstarch
  • 1 teaspoon lemon juice (fresh or concentrate)
  • Topping Ingredients
  • 1 cup all-purpose flour
  • 1/4 cup white sugar
  • 1/4 cup brown sugar
  • 3/4 teaspoon baking powder
  • 1/2 teaspoon salt
  • 6 tablespoons unsalted butter
  • 1/4 cup boiling water (I use the water that I blanched the peaches with)

Instructions

  1. Preheat Oven to 425 degrees
  2. Mix peaches, 1/4 cup sugar, 1/4 cup brown sugar, 3/4 teaspoon cinnamon, cornstarch and lemon juice.
  3. Bake peaches for 10 minutes.
  4. Cut up your butter into small chunks.
  5. Mix all topping ingredients. I use my fingers to blend it together and make a crumbly topping.
  6. Remove peaches from oven and sprinkle crumble topping all over peaches. I like to sprinkle a little extra cinnamon on and sugar on the very top.
  7. Bake for 30 minutes or until the top is golden.
Schema/Recipe SEO Data Markup by Yummly Rich Recipes
http://themavensisters.com/easy-homemade-peach-cobbler/

I hope your family falls in love with this peach cobbler like ours has. It’s a great go to recipe for family functions and events too. Once it’s gone you will always be wanting more! Happy Baking!

Mary Kay Lash Intensity Mascara

Make your Eyelashes Big and Gorgeous with Mary Kay Lash Intensity Mascara

mary-kay-jpg

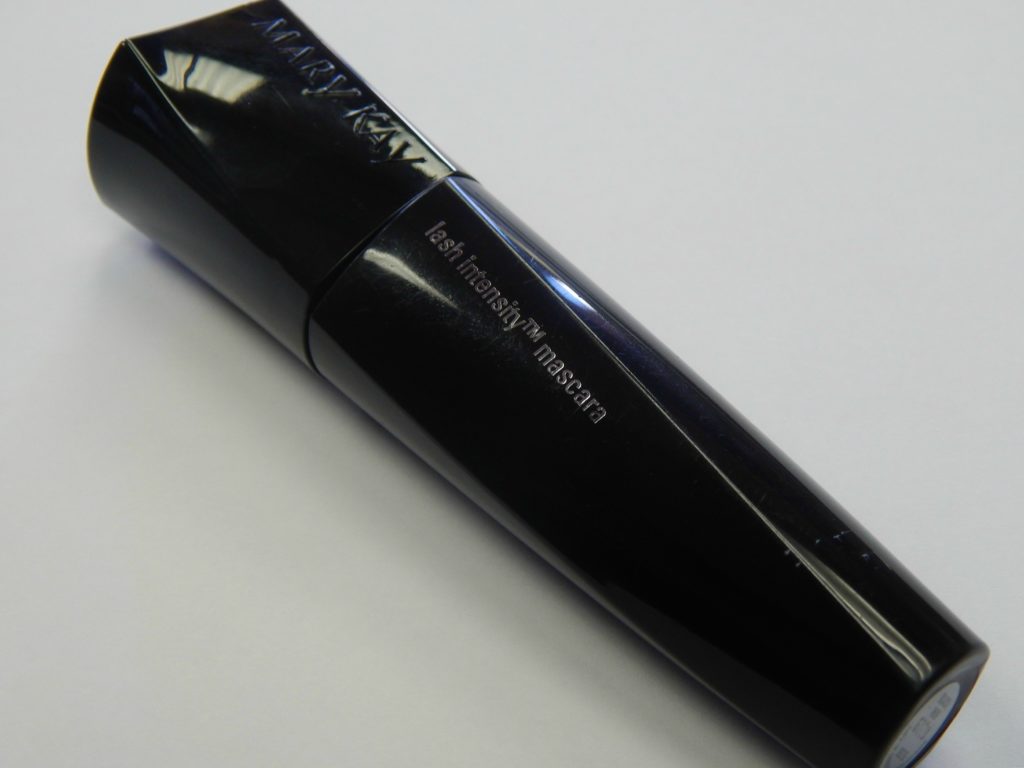
I immediately fell in love with Mary Kay Lash Intensity Mascara from the first second I put it on.  This Mascara is truly amazing and I love it so much, that I had to tell everyone about it! Recently I was invited to a Mary Kay facial party.  Trying new makeup is something that I love and couldn’t pass up an opportunity. Before this party I had never tried ANY of the Mary Kay products.

Mary Kay has so many products to choose from. They have a huge line of skin care products for all types of skin and lots of gorgeous makeup. Their colors are so pretty and they have great kits to get you started.

I ended up purchasing the Mary Kay Lash Intensity Mascara because even though I have long eyelashes, I wanted them to stand out even more. It’s becoming a popular practice for people to get lash extensions and I have even considered it myself. With the Mary Kay Lash Intensity Mascara, I feel like I get the look of big gorgeous lashes with only a fraction of the cost.

without mascara

Mary Kay products are so easy and great to use. When applying the Mary Kay Lash Intensity Mascara, put your first coat on and let sit for about 30 seconds. Then apply a second coat to make your lashes look even fuller and longer. The Mary Kay products I am wearing in these photos are the primer, foundation, concealer and mascara.  I am also wearing other products that aren’t Mary Kay, like my lip color and eye shadow.

lash intensity mascara

If you are looking for a new mascara, I highly recommend trying the Mary Kay Lash Intensity Mascara. You won’t be disappointed and neither will your pocketbook. Find the nearest Mary Kay Consultant near you.

Easy Crowd Pleasing Party Mix

Keep Your Guests Happy With this 3 Ingredient Party Mix

Candy Corn Snack Mix

Never disappoint with this Easy Crowd Pleasing Party Mix! There are only 3 ingredients and you are sure to keep your guests happy and coming back for more.  Many years ago, during my days of working at Farm Bureau, my mentor would bring in this Easy Crowd Pleasing Party Mix as a special treat. We would always grab little paper cups and fill them with this delicious mix and eat until we were miserable! I loved every minute of it!

Now that my Farm Bureau days are long gone, I didn’t want this Easy Crowd Pleasing Party Mix to be gone too. So, every once in a while I make this special treat for my family. I can’t make it very often because we have no self control when it comes to it. As I am typing this I am literally thinking about getting my next helping!

Easy Halloween Food Party Ideas

This Easy Crowd Pleasing Party Mix is great for office, school or daycare parties. Assuming you are allowed to bring products with peanuts in them. If not, you can always omit the peanuts and replace them with something else you prefer. One of the great things about this mix is that you can make so many different variations of it. Some things I recommend adding are: marshmallows, chocolate chips, pretzels, chocolate covered pretzels, peanut M&M’s, peanut butter M&M’s, peanut butter chips, candy pumpkins, cashews, almonds, popcorn or really anything else you can think of. You can’t go wrong with customizing it to your tastes.

Easy Crowd Pleasing Party Mix

Ingredients

  • Bag of M&M candies (16 oz)
  • Jar of Dry Roasted Peanuts (16 oz)
  • 2 Bags of Candy Corn (6 oz)

Instructions

  1. Mix all ingredients in plastic container with a lid. Store in airtight container.
Schema/Recipe SEO Data Markup by Yummly Rich Recipes
http://themavensisters.com/easy-crowd-pleasing-party-mix/

Hope you enjoy making this easy mix and can adjust it to your liking. Your friends and family will be begging you for more, I promise!

Heavenly Double Chocolate Banana Muffins

Chocolate Lovers Dream with these Double Chocolate Banana Muffins

chocolate banana muffins recipe

If you are craving something that is chocolaty and will knock your socks off, try these Heavenly Double Chocolate Banana Muffins.  It’s a rainy day at my house and I have been searching the cub bards for some chocolate. As I was searching I realized that I had 3 ripe banana’s that needed tended to. So, I whipped up these amazing and Heavenly Double Chocolate Banana Muffins.

I need to back up a little and give a little history on my husband and I. Doug and I have been married for 14 years and we have a little running joke. I always buy bananas and tell him not to throw them out because I am going to make banana bread. He always laughs and says, “yeah right.” Then several days pass and I end up throwing them out without making anything banana related.  Of course, he always asks me “where is that banana bread you were going to make???”  I just laugh at him. I have made banana bread and muffins over the years, but not near as often as I purchase them and let them ripe only to toss them out! Recently, I learned you can toss your ripened bananas into the freezer and this will help me not waste them.

chocolate chip banana muffins recipe

Okay back to these delicious double chocolate muffins! Now these are very rich muffins, so you can usually get by eating just one. I like to change the recipe up here and there. They are very good if you replace the chocolate chips with peanut butter chips. You can also add walnuts or pecans to have that little bit of a crunch. I like to add applesauce to the recipe, because I love how moist it makes them. If you aren’t a fan of the applesauce you can always exchange it for the same amount of oil. (1/2 cup) Make whatever changes you like and fall in love with these Heavenly Double Chocolate Banana Muffins.

Heavenly Double Chocolate Banana Muffins

Ingredients

  • 3 medium ripened bananas
  • 3/4 cup brown sugar
  • 1/2 cup applesauce (or oil if you would rather)
  • 1 tsp vanilla
  • 1 large egg
  • 1 c. flour
  • 1/2 cup cocoa (I prefer Hershey's)
  • 1 tsp baking soda
  • 1/2 tsp salt
  • 1 1/4 cup chocolate chips Semi-sweet (reserve 1/4 cup for topping muffins)

Instructions

  1. Preheat oven to 350 degrees.
  2. Mash bananas.
  3. Mix bananas, brown sugar, applesauce, vanilla and beaten egg.
  4. In a separate bowl, mix flour, cocoa, salt and baking soda.
  5. Add the dry ingredients to the wet ingredients and mix.
  6. Add 1 cup chocolate chips.
  7. Line muffin tin with cupcake liners and fill 3/4 full.
  8. Sprinkle 1/4 cup of chocolate chips on top.
  9. Bake for 15 - 17 minutes or until toothpick comes out clean.
Schema/Recipe SEO Data Markup by Yummly Rich Recipes
http://themavensisters.com/heavenly-double-chocolate-banana-muffins/

Snodgrass Family First Ever 4-H Fair Experience

Pawnee County 4-H Fair

4h

This July we were fortunate enough to have our Snodgrass Family 4-H experience! We headed home on Wednesday morning from our vacation in Colorado so we could be at the fairgrounds at 8:00 a.m. on Thursday. Let’s just say that we were pretty sleepy that morning and didn’t want to wake up! We did make it to the fairgrounds by 8:00 and we had to give Kaylyn’s goat a bath. I don’t know if you have ever given a goat a bath, but it’s safe to say that it really isn’t that much fun!

Since this was our first year, we didn’t really know what to expect, but Kaylyn did an amazing job with her goat. She acted like she has been doing this forever. We were so proud of her! One of the rules is that you have to keep the goat between you and the judge at all times. It’s kind of funny, because you can tell that the judge likes to try to trick the kids up. You can tell which kids are really paying attention to the judges every move. Kaylyn was one of the kids that really watched the judge and it was so cute to see her moving around her goat.  It’s fun to see how all of the hard work of taking care of the goat finally paid off when we saw Kaylyn’s smiling face.

Additionally, because this was her first year she received a very special award. A local family donates the feed tub to first year kids in honor of a family member they lost. We are so fortunate to live in an amazing community and have so many great people here. This family is a perfect example of why we love our town!

In closing, I will say that if you have a 4-H program available for your kids that you should really consider signing up. It is a lot of work, but in the end it is totally worth it. The kids learn a lot, but the parents do to.

Family vacation

July has been a very busy month for the Snodgrass Familyfamily vacation

Towards the end of July, we went on a family vacation and had to be back in time for the 4-H fair. Talk about a busy month! We realized it had been 8 years since the last time our family took a real vacation and knew that it was time! Some friends of ours invited us to tag along to Cachura, CO and we jumped at the opportunity.

We left on Friday evening after work and headed out for our six hour drive. We decided to leave after work in hopes that Haydyn would decide to sleep along the way. Wrong! That sweet little toddler is just like her mama and can’t sleep in a vehicle! I have to say she really did a great job on the way there. We had a few things to entertain her with and she stayed pretty happy most of the way.

The only bad part about traveling to the mountains in the dark is that you can’t see how gorgeous and amazing the mountains are. We live in Kansas, so we are pretty much used to plains with very little hills. You can see for miles! So, we were rather looking forward to seeing those amazing mountains.

Once we settled into the cabin, we fell asleep with the fresh mountain breeze on our faces. When I woke up the next morning, I wiped the sleep from my eyes and looked out the window! WOW! It has been over 13 years since we visited Colorado and I forgot how breathtaking it is. The view was just gorgeous every direction I looked.

deer

We had so much fun while we were there. We went hiking, watched the hummingbirds, saw lots of deer (one was even in someone’s front yard eating), did some fishing, played mini-golf and enjoyed the views. If you have never been to Colorado, I highly recommend going. There is so much to see and just smelling the air and trees is enough to make a person want to stay forever.