Vtech Farm and Learn Animal Wagon – Playtime goes wild with learning!

Vtech Farm and Learn Animal Wagon is the MUST Have Toy This Yearvtech farm and learn animal wagon

Clay’s first birthday is on the 20th of this month, and the other day he got an early birthday present! This Vtech Farm and Learn Animal Wagon, let’s just say he has barely wanted to stop playing with it since we opened it! He is absolutely fascinated with the hay bale. It comes with two goats, hay, a tractor and trailer.

In a hurry? BUY the Smart Animal Farm by Vtech by clicking here!

Here is a quick video, I wanted you all to get to see Clay playing with it! He truly is loving this, anything with animals and he is a fan! This is for age range of 1 year up to 5 years, so there is a long time frame! It is a great way for kids to pretend to be a farmer and having fun while doing it! The tractor’s windshield changes to different drivers and the window opens and closes. when you push the top of the tractor a horn blows, which Clay loves!

Works with Go! Go! Smart Animals and Go! Go! Smart Wheels playsets

 Smart Animals Smart Wheels Animals Farm

&

What is really neat about the Go! Go! Sets is they can work together. You can buy the Go! Go! Smart Animals and/or Go! Go! Smart Wheels Playsets and they interact all together! It is neat that you can always buy new sets to play with and keep your child interested! Or if you are buying for a gift, you know another gift to buy to go along with the first one!

Smart Animal Farm by Vtech

smart animal farm by vtech

Another neat feature on this Smart Animal Farm by Vtech is when you push the moms hair at the top she will talk or sing! Saying things like G is for goat, and so on. When you touch the babies nose to the mama she interacts with baby goat. She gives a nurturing response to her baby goat!

This would make a great gift for a child anytime of year! Great toy to have your child play with and learn while doing it! 

LOreal Paris RevitaLift Anti-Wrinkle + Firming Face – Lets Take Beauty!

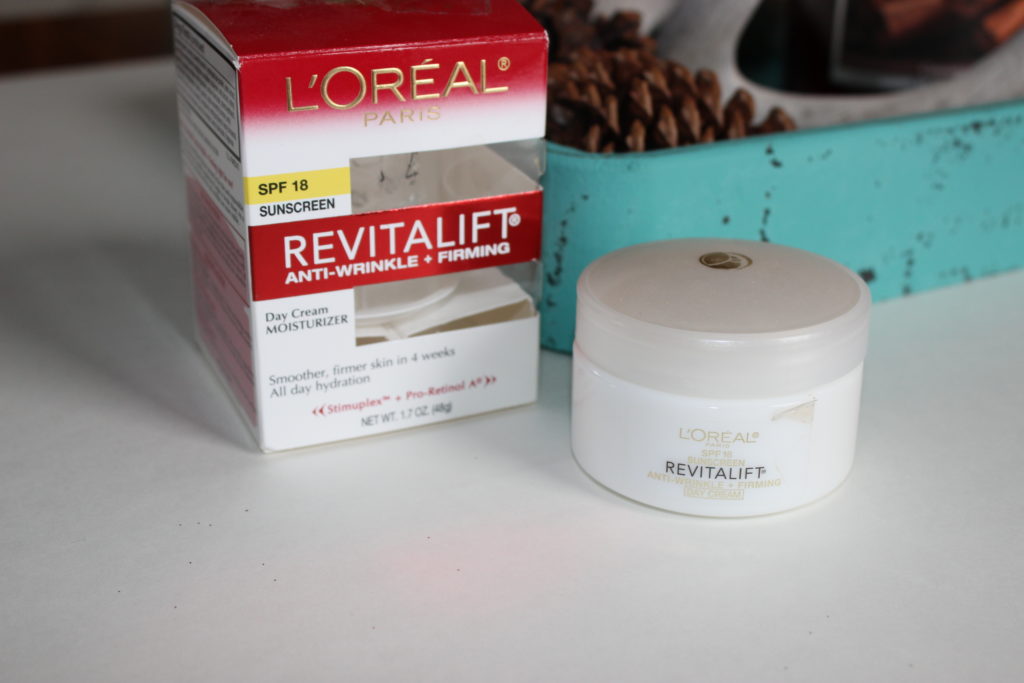
LOreal Paris RevitaLift Line Reviewimg_7956

When it comes to beauty products I love trying out new things! I watch a lot of YouTube videos and I love makeup tutorials, and a lot of beauty vloggers rave over the LOreal Paris Revitalift line! I am in my early 30’s and I want to make sure I can stay away from those fine lines and wrinkles as long as possible! That is why I bought this anti-wrinkle and firming cream a while back!

In a Hurry?! BUY the Cream by clicking here!

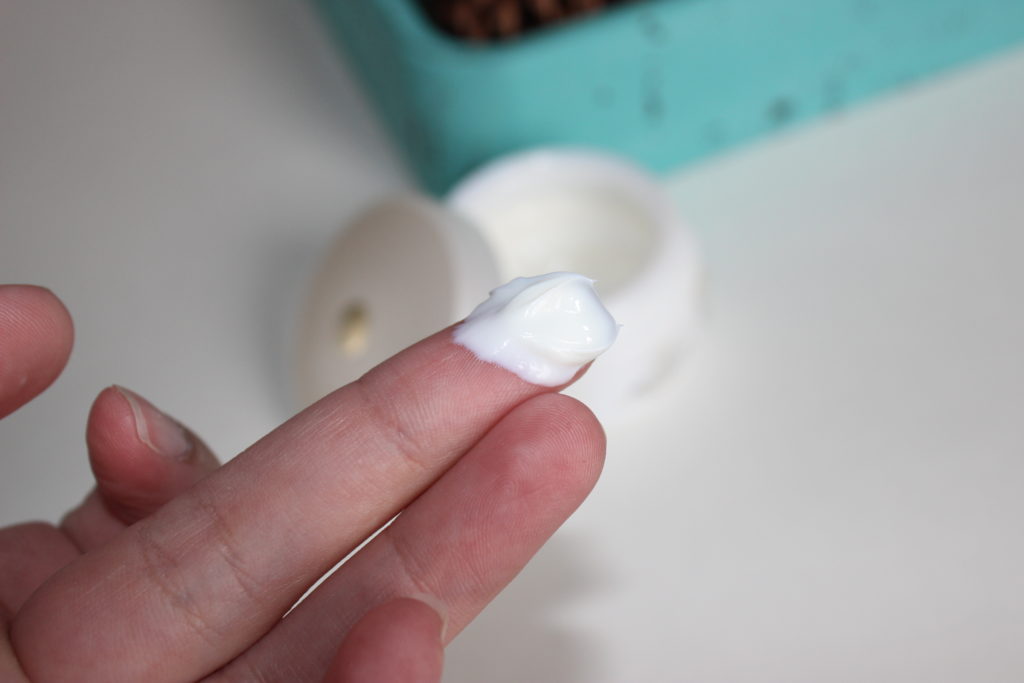
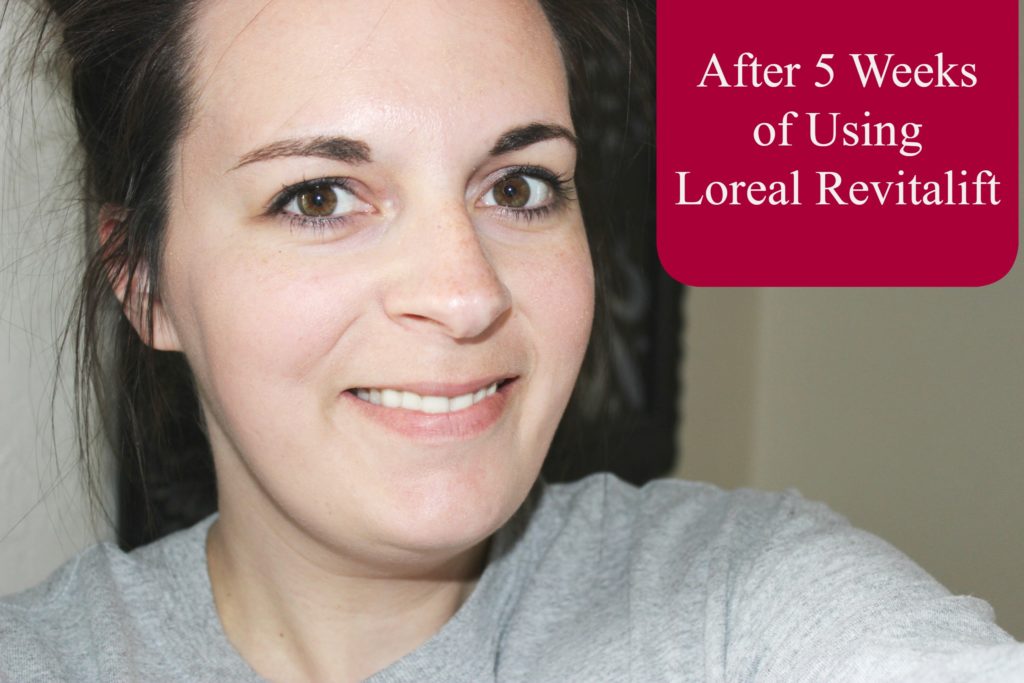
I have been using this cream for a little over 5 weeks now, and I really love it. I have super dry skin so anything to help bring my skin some moisture I am all for! The LOreal Paris Revitalift line is innovative, it works with 8 natural lifters to improve the elasticity and reveal smoother, firmer skin! It also provides all day hydration and prevents dryness.

Use every morning, either alone or under makeup.

loreal paris revitalift review

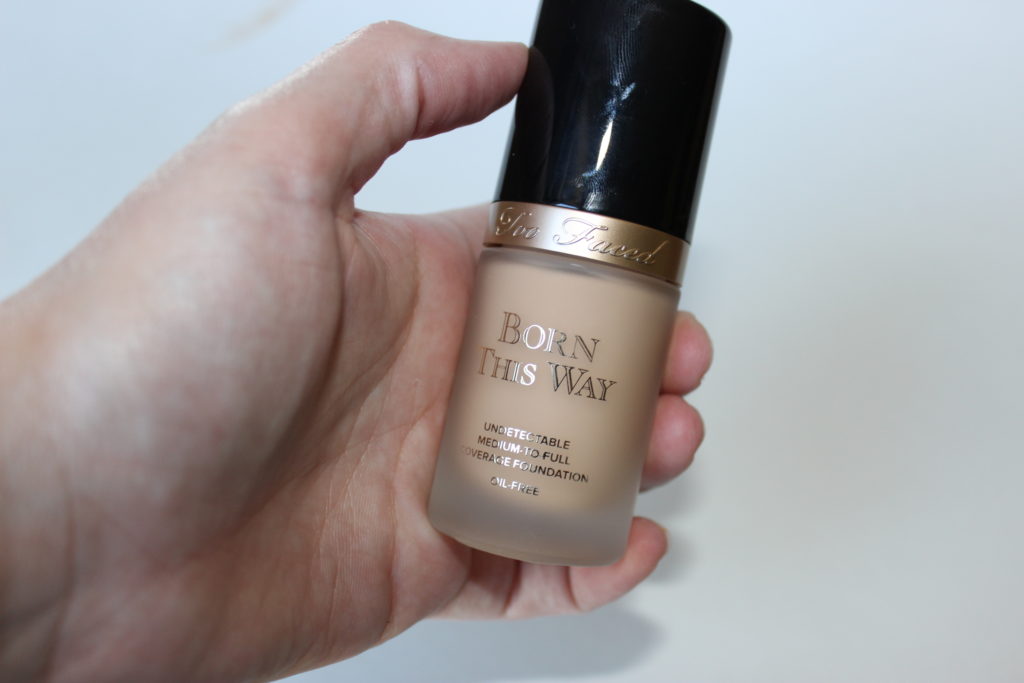
What I love about this is you can use the anti-wrinkle and firming cream under your makeup if you want. So when you get up apply the cream and wait maybe five minutes and then apply your makeup! I love my Too Faced Born this Way foundation, it has great coverage! It is Fortified with Pro-Retinol A and Stimuplex, cell turnover is increased, wrinkles are reduced, skin is firmer and hydrated.

loreal revitalift review

Researchers say at the age of 25 you should have already started using a anti-wrinkle cream. It is better to keep the wrinkles at bay instead of trying to get rid of them once they show up! I am not always the best at washing my face at night and drinking enough water, but I am trying to do better!

 L’Oreal Paris RevitaLift Anti Wrinkle + Firming Face/Neck Contour Cream

&

I hope you all enjoy this review and would love for you to try it and share your thoughts with me!


Too Faced Born This Way Foundation Review – FLAWLESS Looking Skin

Too Faced Foundation Review Born this Way Foundation by Too Faced

I am a huge fan of makeup, and I know that every now and again I need to splurge and buy some amazing foundation and that is exactly what I did recently! I bought the Too Faced Born This Way Foundation and I am absolutely loving it. I have tried other foundations from the Too Faced line but not the Born this Way, and I am so glad I got this! This is a medium to full coverage foundation, which means it is a little bit heavier. I love wearing this in the cooler months as you don’t sweat as much and a thicker foundation works nicely!

In a Hurry, buy the foundation by clicking here!

Too Faced Born This Way Foundation

Here is a pic of me wearing the foundation along with my regular makeup. As you can see it does give a nice coverage on the skin. I have some blemishes and show a lot of red on my cheeks and nose area without makeup. I wish I had flawless skin without makeup but I don’t. That is why I like a medium to full coverage, so it helps hide my imperfections a little bit better! The foundation goes on so smooth, I use my beauty blender or a kabuki brush to apply it, and that seems to give a nice even layer over the skin and doesn’t leave any lines.

 beautyblender Too Faced Born This Way Foundation Kabuki Foundation Brush

&

It does have a pump top, so you just pump out the foundation vs pouring it out of a bottle which is so nice! One pump is enough to cover my whole face, so it goes a long way! I truly can’t rave enough about this foundation! It is a little pricey but it is worth the money if you want to have a nice foundation! I can’t always afford it, but when I splurge I for sure go for the Too Faced brand, I love their products!

After Wearing the Born This Way Foundation All Day

Too Faced Foundation Review

This is me after the day is starting to come to an end, I had been wearing it for around 7 hours at this point. It did a great job holding up throughout the day! I am very impressed with how awesome this foundation is! If you are looking for a great foundation look no further everyone!

Also check out the Mary Kay Lash Intensity Mascara my sister is loving!

Great Baby Shower Gifts – My First Holiday Belly Milestones Stickers

Great Baby Shower Gifts – My First Holiday Belly Milestones StickersMy First Holiday Belly Milestone Stickers

Look at that handsome boy, ahhh I could stare at these pictures all day! Today I wanted to share these My First Holiday Belly Milestone Stickers and Month by month stickers I have used for Clay! Each holiday you can showcase the My First Christmas, Halloween, etc. And the monthly ones just have how many months they are that month! My sister in law bought these for me when I was pregnant! I have used them through the whole first year, we have this month and Clay will officially be one on the 20th! WOW how time flies!

I love being able to look at the pictures see the stickers and know exactly what month he was or holiday! It is great for the baby books you might create, so you will never forget the day!

In a HURRY? BUY Them Here: http://amzn.to/2dQZbsU

My First Holiday Belly Sticker

As Clay got older, sometimes he didn’t want to have it on his tummy so I would stick it on a stuffed animal, the wall or wherever and it worked fine that way! He always wanted to tear it off when he learned how and eat it! They have so many different designs to choose from when it comes to these stickers, it makes it fit anyones style preference!

Milestone Stickers for Babies 

 First Year Monthly Month Stickers My First Holiday Monthly Baby Stickers Monthly Holiday Stickers First Holidays Milestones

&

I wanted to share some of the ones I thought were fun for both monthly and holidays! They have tons more to choose from, and they are very affordable! As you can see I have used them a lot, and I love to recommend these! They truly do make wonderful gifts for expecting moms! 


Easy Beef Tips and Gravy Recipe In the Oven!

Easy Beef Tips and Gravy Recipe In the Oven!


No Peek Easy Beef Tips and Gravy – Mouthwatering Good! 

Easy Beef Tips and Gravy Recipe

If you are looking for an easy beef tips and gravy recipe, look no further! You have come to the right place, have I got a recipe for you that is quick, easy, and delicious! Three of my most favorite things! When the weather gets colder like we have been having on and off, I love to make nice and hearty meals that sticks to your ribs a little bit! Adam works out in the oil field so if it is cold all day, I want him to come home to a hearty and warm meal!

The weather here is on and off, one day it is warmer and the next it is cold. So on the cold days I take advantage of meals like this for him! Cooler days I always whip up lighter meals like a shrimp spring bowl!

Beef Tips and Gravy

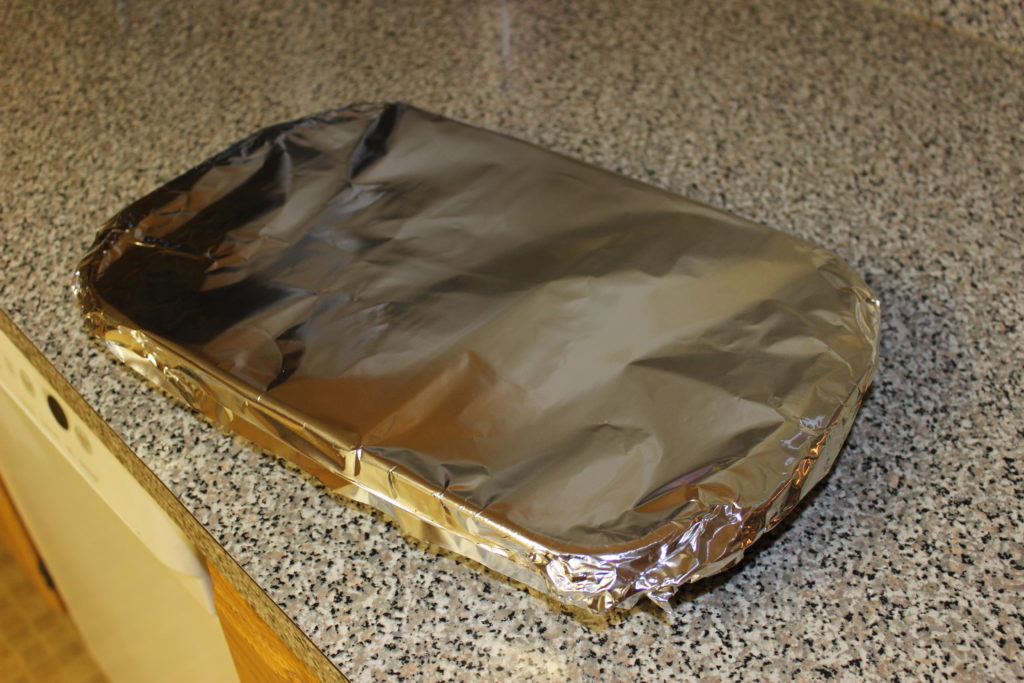
This is a NO PEEK recipe, so once it goes in the oven, you just trust it is doing the right thing! You wrap the pan in aluminum foil and you don’t want to peek because all the steam will escape, and you need that to help keep your meat nice and tender!!

We chose to pair this with mashed potatoes, but you can do egg noodles or even rice! I just prefer potatoes, but every now and again I will do egg noodles. I am not the biggest fan of rice, so I never do that.

McCormick Brown Gravy MixMcCormick Brown Gravy MixLipton Recipe Secrets Soup MixLipton Recipe Secrets Soup MixCream of Mushroom SoupCream of Mushroom SoupGiorgio Mushrooms, Pieces N StemsGiorgio Mushrooms, Pieces N StemsAnchor Hocking 3-Quart Glass Baking Dish with Green TrueFit LidAnchor Hocking 3-Quart Glass Baking Dish with Green TrueFit LidReynolds Wrap Aluminum FoilReynolds Wrap Aluminum Foil


Easy Beef Tips Recipe In the Oven

Ingredients:

2 lb cubed beef stew meat
1 envelope brown gravy mix
1 envelope onion soup mix
1 can cream of mushroom soup
1 small can of mushrooms (4 oz optional!)
1 cup Ginger ale or water

No Peek Beef Tips

Instructions:

First off you want to Preheat the oven to 300 degrees. Spray your 9×13 pan with cooking spray and then put the beef in. Layer it on the bottom of pan.
Then in a bowl mix up your Ginger Ale, mushroom soup, onion soup and brown gravy. If you opted for mushrooms add those in as well.
Pour the mixture over the meat. And wrap TIGHTLY in aluminum foil.
Bake for 3 hours and NO PEEKING!
Serve with your favorite sides and enjoy!

See simple and easy and yet so satisfying! I hope you enjoy this delicious recipe, I know we do. I don’t make it a ton, not sure why because it is so simple to do!

Stay tuned for more recipes and reviews to come! Happy Sunday everyone!

Easy Beef Tips And Gravy Recipe

Ingredients

  • 2 lb cubed beef stew meat
  • 1 envelope brown gravy mix
  • 1 envelope onion soup mix
  • 1 can cream of mushroom soup
  • 1 small can of mushrooms (4 oz optional!)
  • 1 cup Ginger ale or water

Instructions

  1. First off you want to Preheat the oven to 300 degrees. Spray your 9x13 pan with cooking spray and then put the beef in. Layer it on the bottom of pan.
  2. Then in a bowl mix up your Ginger Ale, mushroom soup, onion soup and brown gravy. If you opted for mushrooms add those in as well.
  3. Pour the mixture over the meat. And wrap TIGHTLY in aluminum foil.
  4. Bake for 3 hours and NO PEEKING!
  5. Serve with your favorite sides and enjoy!
Schema/Recipe SEO Data Markup by Yummly Rich Recipes
http://themavensisters.com/easy-beef-tips-gravy-recipe/

If you are looking for an easy beef tips and gravy recipe, look no further! You have come to the right place! Perfect for a weeknight dinner.

VTech Shake and Sounds Learning Pup Video Review *Holiday Gift Idea*

Clay Loves His New Shake and Sounds Learning Pup from Vtech! Vtech Shake and Sounds Learning Dog

We bought Clay this Vtech  Shake and Sounds Learning Pup the other day, and he is really enjoying it! We love buying him new toys to help keep his mind learning! This pup offers over 40 songs, melodies, sounds and phrases! We bought this pup because we want Clay to have toys that are interactive, he can learn from, and help stimulate him. Since I am a stay-at-home mom I want to ensure he has fun toys to play with throughout the day!

 VTech Shake and Sounds Learning Pup by VTech

&

In a Hurry?! Buy the Learning Pup by Clicking Here now!

Does the Shake and Sounds Learning Pup Work on Carpet

learning pup with a boneHere is a little video I did to show you the dog in action! If you can’t view the video above, watch it on YouTube right now! Now, we have carpet in most parts on our house, but the kitchen and hallway both have linoleum, and that is where Clay is playing with the shake and sounds learning pup. We have shorter carpet, and it does not work. It won’t move around, so that is a little disappointing. So if your home has a lot of carpet, you might not buy this toy. The pup will not move around, he just sits up, but doesn’t move.

Vtech Shake and Sounds Learning Pup

Vtech Puppy With a Bone Makes Playtime FUN!

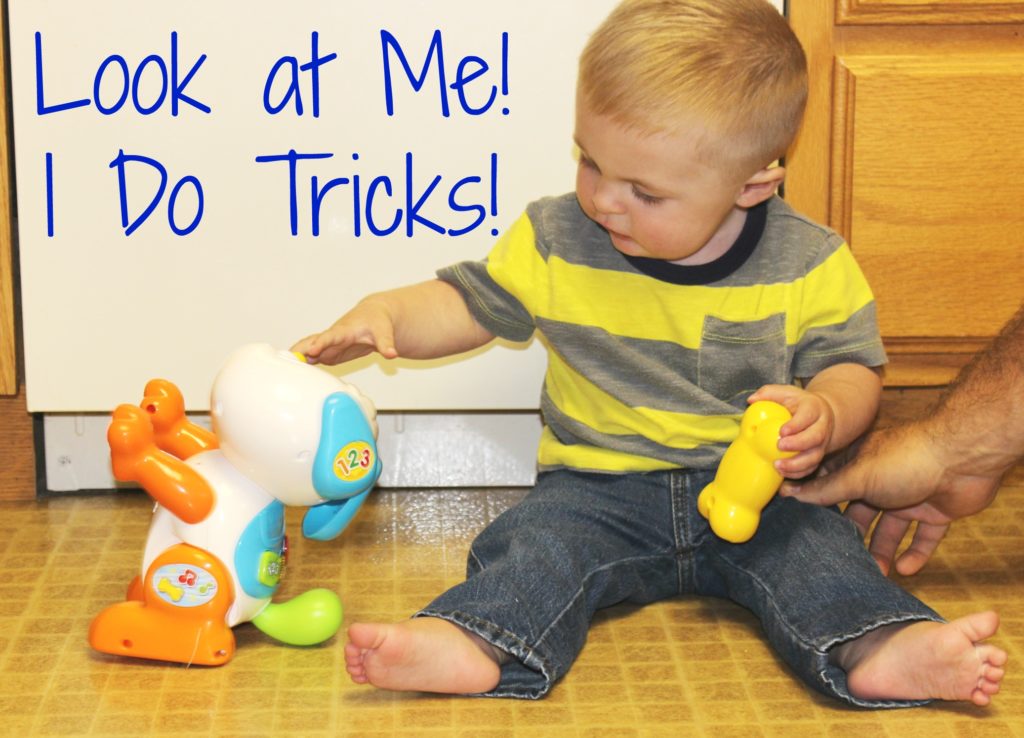
On the learning pups back you can see little buttons that can be pushed to make him sing melodies, count and more. It is really neat. This puppy comes with a bone that when you shake it, the puppy will then interact with talking, playing tricks and more.   Clay loves holding the bone and shaking it, they have little beads inside that make noise when it gets shaken! It also grabs his attention when he shakes it, and then the dog starts talking. He just lights up from ear to ear! The puppy with a bone really does make it a lot of fun!


Caramel Apple Cream Cheese Dip – No BAKE!

Fall is in the Air at My House with this Caramel Cream Cheese Dip
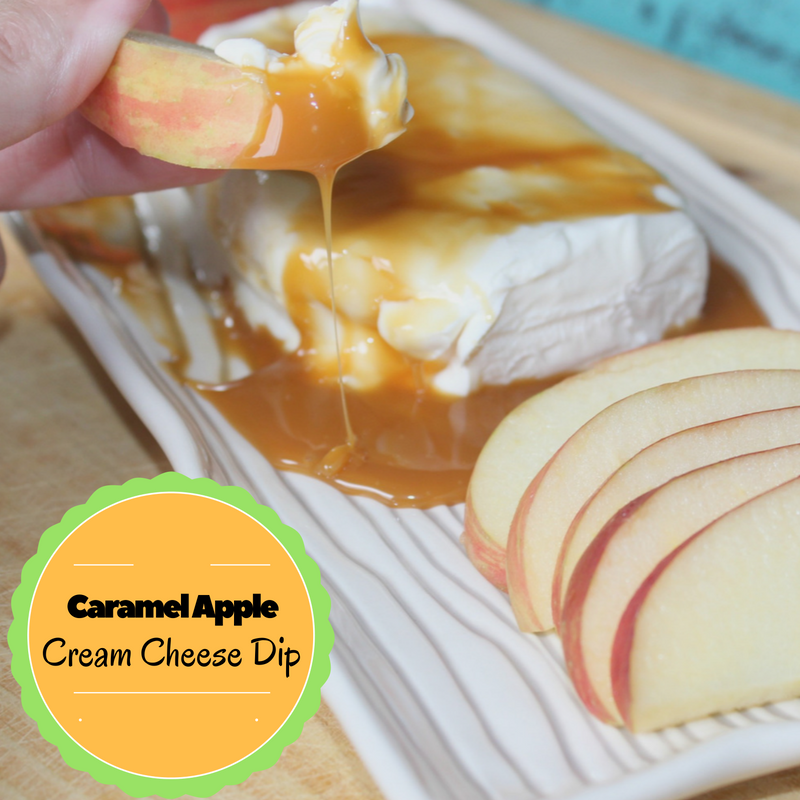
Caramel Apple Cream Cheese Dip

Fall is upon us with this nice cool weather we keep having on and off, it is getting me in the mood for pumpkin cream cheese muffins and Caramel Apple everything! I made this delicious Caramel Apple Cream Cheese Dip the other day, and let me say it is heaven with each dip! I shouldn’t have made it, because I wanted to eat the whole thing it was that good!

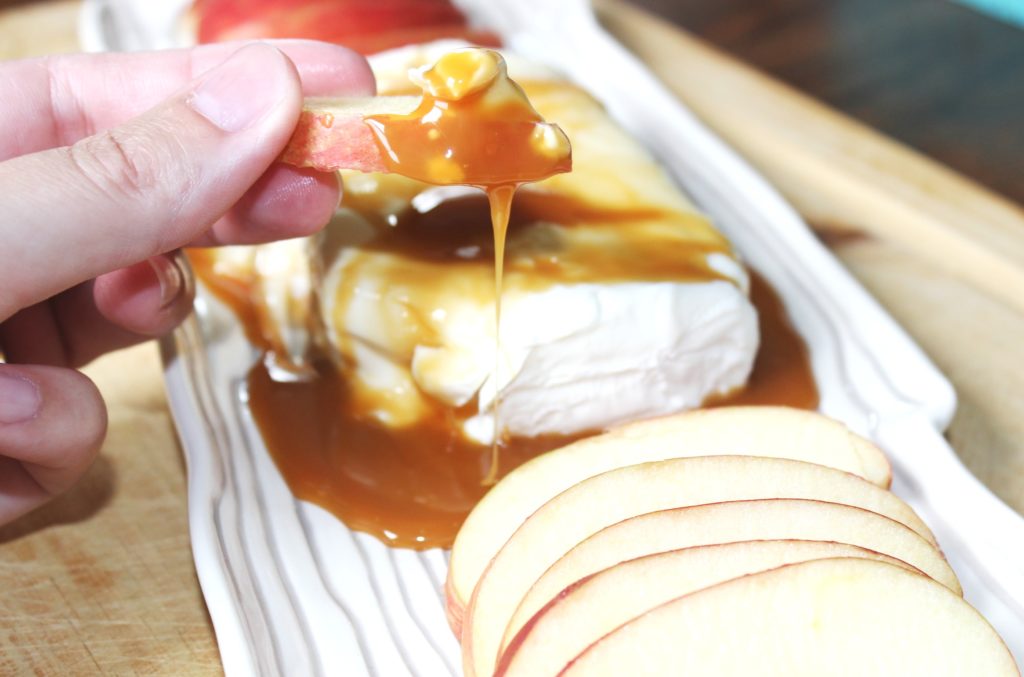
For this dip I used a salted caramel, and it really paired nicely with the cream cheese. Dip your apple or other fruits you want and just dig in to the creamy goodness! I truly love this dip, and it would be great for any season, I just think it is perfect for Fall gatherings!

Caramel Dip

I am in full fledge prep mode for Clay’s Birthday coming up! We went outside and had a photo shoot for his invitations I will be creating here, and getting in the mail soon! We have a lot of decorations bought, I just can’t wait! It will be a perfect day I am sure! When we came in from pictures, I thought to make this dip as a snack for us. Clay really loved the cream cheese part of it, and much on the apples some!

Caramel Apple Cream Cheese Dip – Perfect for FALL

Ingredients

  • 1 block of cream cheese
  • 1 jar of caramel sauce I used Salted Caramel (you can make homemade sauce)
  • Apples or other fruit

Instructions

  1. Take your block of cream cheese and let it get to room temperature.
  2. With a spoon drizzle some of the caramel sauce over the cream cheese until you reach as much as you want on the block.
  3. Cut up your fruit or cookies and dip or spread to enjoy!
  4. Refrigerate after you are done eating on it, if you have any left!!
Schema/Recipe SEO Data Markup by Yummly Rich Recipes
http://themavensisters.com/caramel-apple-cream-cheese-dip-no-bake/

Caramel Apple Dip

Okay so this recipe, kind of isn’t a full fledge recipe, as it is so easy! BUT I had to share it in case you had never tried this! I know it is fabulous and so easy to whip up, that everyone will love it to pieces!

Stuffed Shells with Ground Beef and Spinach Recipe

Stuffed Shells with Ground BeefStuffed Shells with Ground Beef is always something that is a crowd pleaser in our home! I try to add a little healthy to it by adding in some spinach! It is a great way to get some of your greens and still enjoy a very hearty meal! Adam is a huge meat lover so I can’t have a meal without some meat! I love to add ground hamburger to this, but you can also substitute with turkey or even sausage! Both will still go really well with the meal!
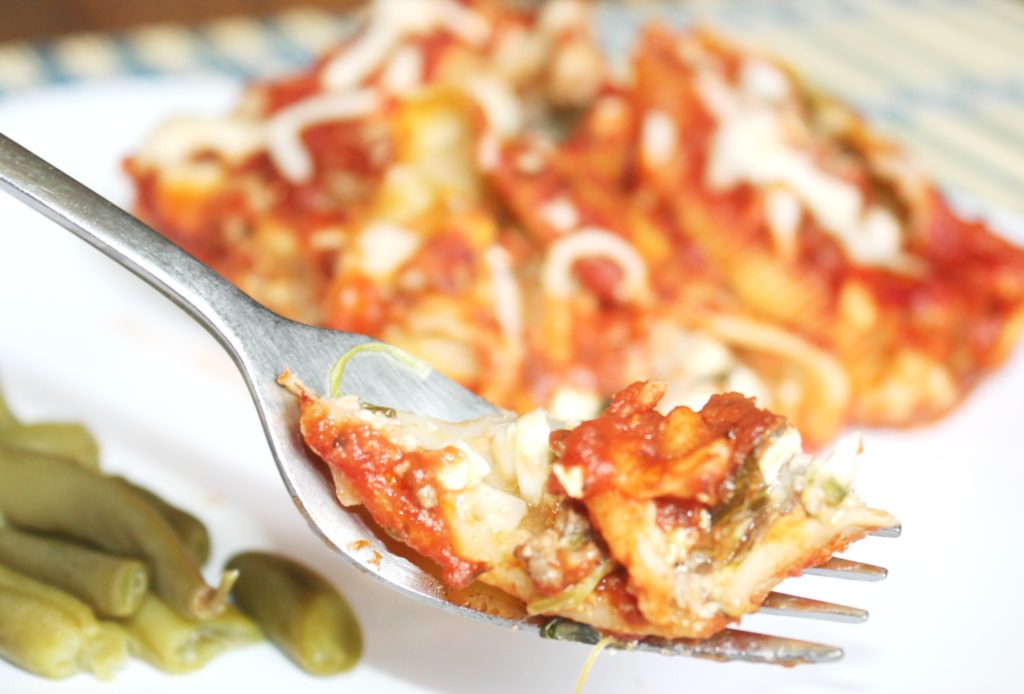
Now these are a little bit time consuming as you have to stuff each shell, but it is worth it in the end! I get tired of the basic spaghetti or lasagna, and want to switch it up at times! When I am feeling fearless I dive into making these stuffed shells with ground beef and spinach! 

Ground Beef and Spinach Stuffed Shells

stuffed shells with spinach

I love to use cottage cheese in my recipe, but you are welcome to use ricotta cheese, it is totally whatever you prefer taste wise! We grew up with cottage cheese in our pasta’s so I prefer that. As for pasta sauce, you can use homemade or just grab a jar of your favorite one. Right now we are using the Ragu Mushroom, it is my go to! I need to get on making up my own, and then freezing it to have on hand!

Stuffed Shells with Ground Beef and Spinach Recipe

Ingredients

  • 1 lb ground beef
  • 1 - 24 oz cottage cheese
  • 1 - 16 oz box of jumbo shells
  • 1 large jars of spaghetti sauce
  • 2 eggs lightly beaten
  • 1/2 cup shredded spinach (can use fresh but I use frozen)
  • 2 cups mozzarella cheese
  • 1 cup parmesan cheese

Instructions

  1. First off preheat oven to 350 degrees. Cook pasta shells as directed on the box. Put hamburger and cook it up, ground.
  2. In a 9x15 pan add about 1/2 the pasta sauce to the bottom of the pan and set aside.
  3. While that is cooking mix your eggs, cottage cheese, shredded spinach and 1 cup mozzarella cheese and 1/2 cup parmesan.
  4. Once your hamburger gets done you will add in the ground beef and mix well.
  5. Drain pasta when done cooking and let cool a little, once able to handle without burning yourself, start to stuff the shells with the mixture.
  6. Once all your shells are stuffed and in the pan you can then add the rest of the jar of sauce all over pasta. Top with the remaining shredded mozzerella and parmesan cheese.
  7. Cover with aluminum foil and bake for 30 minutes, then remove foil and bake an additional 15 minutes.
  8. Serve and enjoy.

Notes

I had leftover noodles, I went ahead and filled them and put them in an 8x8 dish for another meal. You can either serve it up then, or assemble and then just freeze for a meal later on. Don't cook in the oven if you will freeze, just do all the steps like you would bake it then wrap it up and store in freezer.

Schema/Recipe SEO Data Markup by Yummly Rich Recipes
http://themavensisters.com/stuffed-shells-ground-beef-spinach/

The steps do take a little time, but really it is pretty easy to make. It is a nice change for sure from the basic pasta and sauce recipes we have do regularly! I hope you all enjoy this recipe, and make sure to check out some other ones we have.

Other Tasty Recipes to Try Out: 

best beef enchiladas

easy slow cooker meatballs


Bacon Bowtie Pasta Salad Recipe – Crowd Pleasing Delicious!

Pasta Salad Lovers- Try this Bacon Bowtie Pasta Salad today! 

bacon bowtie pasta salad

Pasta salads are a hit in our house, my husband just loves them! So I try to mix it up and do different flavor combos in our salads. This is a really tasty bacon bowtie pasta salad, and it has tomatoes and onions in it!  His all time favorite is the Italian Pasta Salad, it is my go to salad.  This salad has a whole new flavor combo to please your palate! 

This bacon bowtie pasta salad has a nice crunch of bacon, tomatoes and a tangy sauce! I like to serve this with some garlic bread, it really pairs nicely I think. We love bacon in our house, so if it has bacon it will most likely get ate.

 Corelle Livingware Fun Packs 5 Pieces Winter Frost White April Cornell Blue and White Napkins, Set of 4

&

If you are interested, here are the classic white bowls, that can be used to serve out of, similar to these! They are fun, and I love the crisp white of them, it really just makes the pasta salad pop! It lets the pasta be the star, and that is what I love! The napkins I have pictured above are very similar, if you are interested in them as well!

Bowtie Pasta Salad – Great for PotLucks! 

bowtie pasta salad

Bacon Bowtie Pasta Salad Recipe – Crowd Pleasing Delicious!

Ingredients

  • 1 16-ounce box bowtie pasta
  • 1 16-ounce package of bacon
  • 1 large tomato, diced (appx. one cup)
  • 2 green onions, finely sliced
  • 1 cup mayonnaise
  • 1 teaspoon milk
  • 1 tablespoon red wine vinegar
  • salt and pepper to taste

Instructions

  1. Cook pasta according to package directions, rinse in cool water and drain well. Set aside.
  2. Chop the bacon in small pieces and brown it in a large skillet. When the bacon is crisp, drain on paper towels and allow to cool.
  3. In a large bowl, combine the pasta, bacon, tomatoes, mayonnaise, green onion, vinegar, and milk. Mix thoroughly to combine. Reserve a few of the green onions for garnish, if desired.
  4. Taste and add salt and pepper to taste. At this point you can also add more mayonnaise and/or vinegar to your liking.
  5. Serve immediately or cover and allow to chill in the refrigerator.

Notes

As it sits in the refrigerator, it may absorb some of the dressing, so you may need to add more mayonnaise and/or vinegar before serving.

Schema/Recipe SEO Data Markup by Yummly Rich Recipes
http://themavensisters.com/bacon-bowtie-pasta-salad-recipe/

This recipe really is pretty easy to whip up, I love the ease of it. The vinegar and mayo dressing has a nice tangy flavor to it, which is paired nicely with tomatoes and bacon. Plus you can never go wrong with bowtie pasta, it is so pretty and really adds a fun style to salads. If you don’t like green onions you can always leave them out, that is no problem. The green just adds a pretty garnish look.

Enjoy!

Pumpkin And Cream Cheese Swirl Muffins Recipe – Melts in your mouth

Try These To Die For Pumpkin and Cream Cheese Swirl Muffins

Pumpkin Muffins with Cream Cheese One thing I know is Fall couldn’t come fast enough for me! I finally decided it is close enough to September to whip out some pumpkin recipes! I am head over heels in love with these pumpkin and cream cheese swirl muffins! Y’all, if you love pumpkin and cream cheese, then you will love these beauties!


Pumpkin and cream cheese are like a match made in heaven, and I just had to get a little pumpkin fix! Granted pumpkin doesn’t have to be narrowed down to one season, so today is the day! I had a can of pumpkin puree staring at me, and these beauties are what I created!

pumpkin muffins with a cream cheese swirl

What I love about these muffins is the light pumpkin flavor they have, and then the little bit of cream cheese swirl on top really adds a whole new creamy texture to the muffins! They are so moist, I truly love these pumpkin muffins! What I did was bake them all up, allow them to cool completely then I tossed them all in the freezer! That way I can grab and zap in the microwave for morning time, and they take like new! They freeze and reheat beautifully! Now if you don’t want to freeze them just store in a air tight container in the fridge!

 KitchenAid 4.5-Quart Classic Series Stand Mixer, Onyx Black

&

I use my KitchenAid Mixer when I make these, and then when I go to do the cream cheese mixture I rinse out my bowl and then use it It really makes the whole process so much easier, and we all know I don’t have a ton of time!!

Pumpkin Muffins with A Swirl of Cream Cheese 

pumpkin muffins with cream cheese

So enough chatter from me, lets get on to the recipe! They are pretty easy to make just do your pumpkin batter then a separate bowl for your cream cheese batter, and pour and bake!

Pumpkin And Cream Cheese Swirl Muffins Recipe – Melts in your mouth

Ingredients

  • FOR MUFFINS:
  • 1 Can of pumpkin puree 15 ounce
  • 1 cup sugar
  • 1/2 cup packed brown sugar
  • 2 eggs
  • 1/2 cup canola oil
  • 2 tablespoons vanilla extract
  • 1 3/4 cup flour
  • 2 tablespoons pumpkin spice
  • 1 teaspoon baking soda
  • 1/2 teaspoon salt
  • Filling:
  • 8 oz cream cheese (room temperature)
  • 1/4 cup granulated sugar
  • 1 large egg yolk
  • 2 teaspoons vanilla extract

Instructions

  1. First off preheat your oven to 375 degrees. While it is warming up, take your flour, baking soda, pumpkin spice, and salt and mix in a little bowl and set aside.
  2. In a KitchenAid Mixer or bowl if you don't have mixer, mix the brown sugar, granulated sugar, oil, eggs, and vanilla together.
  3. Once well mixed, slowly add the dry ingredients in until well mixed.
  4. Spoon out your pumpkin batter into muffin tins. Fill about 3/4 full.
  5. In a separate bowl mix your filling ingredients until fluffy.
  6. Then add a dollop on each muffin, and grab a toothpick and swirl it around. It will make the muffins look pretty when they are baked!
  7. Bake for 18-23 minutes. Mine took right at 18 but depending on where you live the cook time can vary.
  8. Enjoy, if you don't eat them right away store in a air tight container in the fridge.
Schema/Recipe SEO Data Markup by Yummly Rich Recipes
http://themavensisters.com/pumpkin-cream-cheese-swirl-muffins-recipe/

These muffins are a crowd pleaser for sure! I know we will be making more of these to have on hand! Clay absolutely loves them! I am all about baking and freezing goodies for the ease of it!


What is your favorite pumpkin recipe?